Non-Medium Members Can Read the Full Article by Clicking Here.
👆 👆👆👆👆
Do you remember all the books you've read so far?
Probably not.
That's why it's important to keep track of all your readings in a second brain.
There you can also store all the notes and highlights of your books.
And obsidian is soo good for this.
Let me show you how in 3 steps:
🦜 Follow me to learn more about Productivity and Science: Axel
Say Hello To Obsidian's Databases
Did you know you can create and work on databases in Obsidian just like in Notion?
One of the main criticisms for Obsidian was the lack of a plugin to create and organize databases.
However, the rising popularity of Obsidian came with a massive plugin creation from many developers.
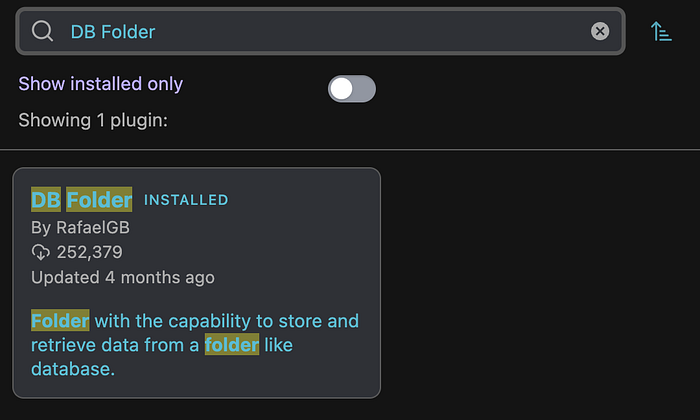
And that's how the DB Folder plugin was born.
This is how I organize my books:

You can read the full documentation at this link: https://rafaelgb.github.io/obsidian-db-folder/
It also covers a brief tutorial with videos :)
How To Use Obsidian's Database Plugin?
Easy:
- Click on settings (command + , in IoS).
- Click on Community Plugins.
- In "Restricted Mode" click on "Turn On". This will allow you to download and install other plugins.
- Now Click on "Browse" in the Community plugins row.
- ⚠️ If you don't have Dataview plugin installed (dependency), search for it and install it.
- In the search bar, type "DB folder".
- Click on install.
- Done!
Creating Your First Database
Now that you have databases installed, you can create one by simply right-clicking on a folder and selecting "New database folder".
If your folders have notes, then the database will display all of them.
For example, I will create a database inside my folder called "animal_cognition".
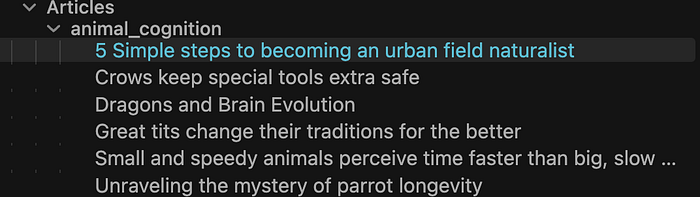
This is the output:
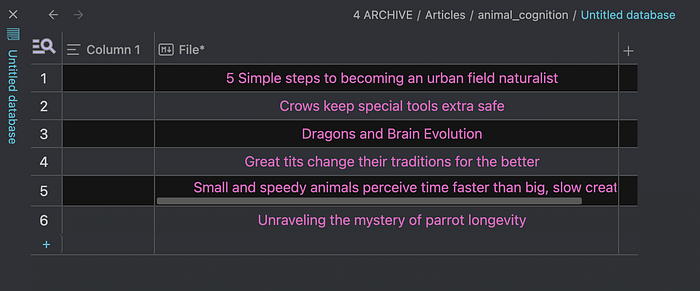
Note how the database plugin creates one with all my notes inside the animal_cognition folder.
Next, I will show you how I personalize it for my reading.
How Do I Organize My Reading?
If you click on the + button at the right, a menu will show up.
There, in the first row, you can write the column name:
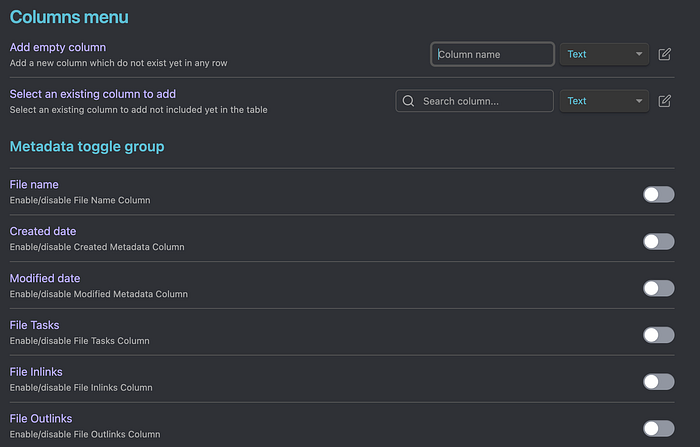
Also, if you click on the edit box at the right, you can select the data type for your column.
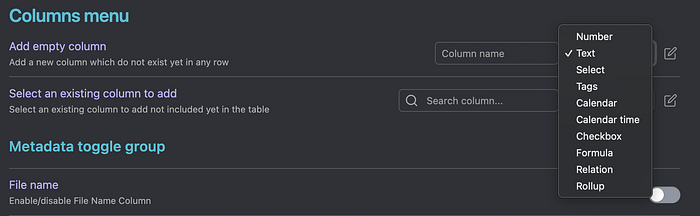
For my reading organization, I used these columns:
- File/note link: this has a link with the book's notes.
- Authors/text.
- Category/select: the general topic of the book.
- Publish Date/number: to know how old the book is.
- Total Pages/number.
- Status/select: whether I'm reading it or already finished it.
- Rating/select: 3,4 or 5-star rating.
- Started date/calendar
- Finish Date/calendar

What I love about this is that I can also connect my book's notes with this database.
So if I click on the link in the "File" column, I will go directly to my notes.
Did you know you can work on databases inside Obsidian just like in Notion?
Well, I have more great news.
Obsidian works offline!
This means you can work on your notes anytime :)
Follow me for more Obsidian articles.
If you liked my article, here are some ways you can help:
👏 Clap 50 times and respond to this article
🦜 Follow me to learn more about Science: Axel
🗂 Subscribe to get my newest articles
You May Be Interested In:
Thanks for reading!
See you,
Axel