MICROCONTROLLERS
When it comes to the tools you use to write, compile and upload code for microcontrollers, there is, as Hank Hill would say, "really no wrong way to do it".
Over the years I've tried several approaches. They started, naturally, using the Arduino IDE which is well-supported, allows you to work with a wide range of devices (not just Arduinos) and shields you from some of the chaos and heartbreak that is C programming. For beginners, I don't think there's a better way to get your feet wet.
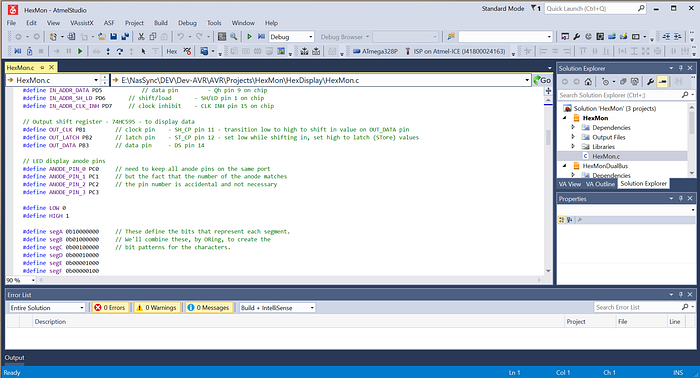
However, the Arduino environment does have a tendency to add a certain bloat to the code. In order to sidestep that, I switched to Atmel Studio (now known as Microchip Studio). This is a more sophisticated (and complex) IDE with a steeper learning curve. Since Microchip bought Atmel, however, the platform has languished, doesn't support the full range of microcontrollers and is deprecated for new products. Instead, Microchip wants to push you towards the even bloatier (if that's a word) MPLAB X — although, to be fair, it does also support development in VS Code via extensions, although that solution is a work in progress and has the dreaded term 'AI' in its name.
In any case, for me Atmel Studio suffered from one huge drawback — it was Windows-only. I'm mainly a Mac and Linux guy and it was a pain to fire up my one Windows machine (a desktop) just to do some AVR coding.
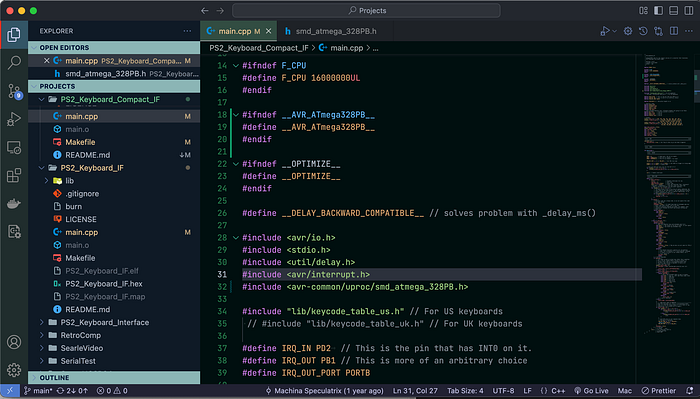
Pretty much all my coding is now done with VS Code. And so this description is going to revolve around that software. However, even if you use a different code editor, there will be some useful tips for you here.
Keep it simple
I have toyed with PlatformIO in VS Code for IoT and microcontroller coding. But I've always found it too clumsy and bloated — the exact opposite of what I'm trying to achieve.
The truth is, 8-bit microcontrollers are not sophisticated beasts and don't require complex environments. Essentially, you need to be able to compile the code (using avr-gcc) and flash it to the chip (using avrdude). With complex IDEs, including the Arduino software, these are the programs doing the important work in the background anyway.
So the first step is to install the essential packages.
Installation guides for software tend to age like milk. Versions change. Directory structures change. So take what follows more as hints in which I'll describe how I did it — a process you can amend to suit your tastes. What's more, this will be very Mac-focused, with a nod towards Linux. I don't do Windows.
Anyhoo, my ARM-based Mac has Homebrew installed (which I recommend) and so, from the command line, I issued the following incantations:
brew tap osx-cross/avr
brew install avr-gcc
brew install avrdude
You can also use MacPorts. But I have no experience of that.
On Linux, you could try (for Debian-based distros):
sudo apt update
sudo apt install gcc-avr binutils-avr gdb-avr avr-libc avrdude
You can also download avrdude directly and install it yourself, which might be a good idea if you're keen to get the latest version. You'll need avr-gcc too.
Setting paths
Once you have these in place, you need to know where the key packages are installed. This is so you can include header files and libraries.
For example, on my Mac, the files I'll want to include in my projects are located at: /opt/homebrew/Cellar/avr-gcc@9/9.4.0_1/avr/include/. On Linux, you might find the same files in /usr/avr/include/avr/.
Either way, that's a bit of a mouthful, so I created a symlink to the dir in my home directory:
ln -s /opt/homebrew/Cellar/avr-gcc@9/9.4.0_1/avr/include/ avr-include
And I added $HOME/avr-include to my PATH.
Over time, I've developed a few of my own libraries and handy header files. So I created another symlink in my home directory — avrlib—that points to the directory where the files are kept and I also added this to PATH.
Configuring VS Code
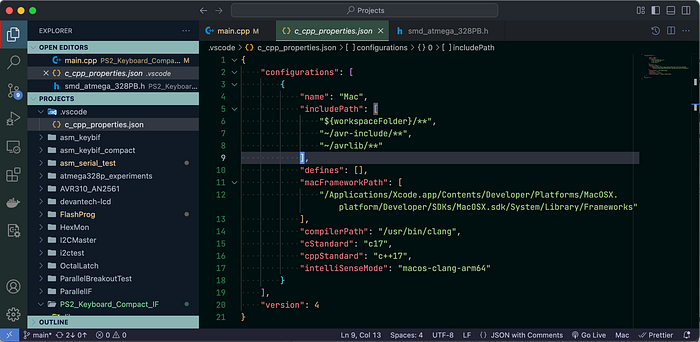
The next step was to ensure that VS Code could find these files. I selected View -> Command Palette… -> C/C++:Edit Configurations (UI) and selected the c_cpp_properties.json link in the IntelliSense Configuration section. This has a section called includePath to which I added the paths to my two symlinks. The entry ended up looking like this:
"includePath": [
    "${workspaceFolder}/**",
    "~/avr-include/**",
    "~/avrlib/**"
],
Support for more chips
At this point, you're largely good to go. But I thought I'd mention one final wrinkle. With these installations, not every AVR microcontroller is supported. You may have to do some extra work.
For example, while the ATMEGA328P has been the mainstay of much of my microcontroller work, not least because it's in an easy-to-use, through-hole DIP package, I've lately taken a shine to a surface-mount variant, the ATMEGA328PB.
Although similar, the two are not identical in functionality, especially when it comes to I/O ports. And the 'PB' variant is not supported in the base package. So here's what I had to do.
I went to http://packs.download.atmel.com/ and downloaded the support pack for the ATmega series. I put the downloaded file in a directory by itself and extracted three key files from it:
unzip -j Atmel.ATmega_DFP.2.2.509.atpack gcc/dev/atmega328pb/avr5/crtatmega328pb.o gcc/dev/atmega328pb/avr5/libatmega328pb.a include/avr/iom328pb.hNote that the filename — Atmel.ATmega_DFP.2.2.509.atpack— may change over time, so amend that to suit whatever it is you downloaded. And if you want support for something other that the ATMEGA328PB, you'll need to change the filenames accordingly.
This extracted the following files:
crtatmega328pb.o
libatmega328pb.a
iom328pb.h
You need to move these into the appropriate locations. The .o and .a files need to go to a library directory and the .h file to an include directory. But where?
On a Linux install, the .o and .a files most like need to go somewhere like: /usr/avr/include/avr/ and the .h file to: /usr/avr/include/avr/. Take a look in these directories to see if they: a) exist, and b) contain the sorts of files you'd expect to find there (eg, .o, .a and .h).
Because I'd used Homebrew, I found I needed to copy the .o and .a files to: /opt/homebrew/Cellar/avr-gcc@9/9.4.0_1/avr/lib/avr5/ and the .h file to: /opt/homebrew/Cellar/avr-gcc@9/9.4.0_1/avr/include/avr/.
Again, your mileage may vary slightly, but this should at least put you on the right path (pun intended).
Finally, you need to edit the io.h file that you will be including in every project. This loads large numbers of definitions for things like pin and port names. On a Linux install, you're likely to find this at: /usr/avr/include/avr/io.h. On my Mac it was at: /opt/homebrew/Cellar/avr-gcc@9/9.4.0_1/avr/include/avr/io.h.
Open this in your favourite text editor. Search for 'ATmega328P' to find the most apprpriate location and add (don't replace) the following two lines after the two lines for the 328P entry:
#elif defined (__AVR_ATmega328PB__)
    #include <avr/iom328pb.h>
Note of caution: I had to do this again when Homebrew updated my installed packages.
Now you're really ready to go. We'll get into some basic programming and use of avrdude and avr-gcc in forthcoming articles.
You can find all the AVR-related articles here.
I've created a GitHub repo for supporting files to accompany this AVR series of articles. You can find it here: https://github.com/mspeculatrix/AVR_8bit_Basics/
Steve Mansfield-Devine is a freelance writer and photographer. You can find photography portfolio at Zolachrome, buy his books and e-books, or follow him on Bluesky or Mastodon.
You can also buy Steve a coffee. He'd like that.